Use Notify Patron
Learn how to use Notify Patron.
From the Options menu in Search Manual, Query Request, Review Alerts, Review Queue, select Notify Patron.
- The email address will be pre-populated with the patron's email address found in the patron's record. You can modify the email address if required.
- The subject of the email will also be pre-populated with subject headings pulled from Notify Patron configuration. You can modify the subject heading can be modified if required.
- Select a message from the Notify Message drop-down. You can enter a custom message in the additional notes section if you do not want to use the pre-defined message.
- Enter notes if required.
- Message section will be pre-populated with a canned message. You can modify the canned message if required. Use the HTML tag <BR> to add line breaks in the outgoing message.
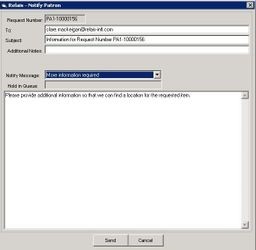
- Click Send. The message will be sent to the patron using the email message template for Notify Patron.
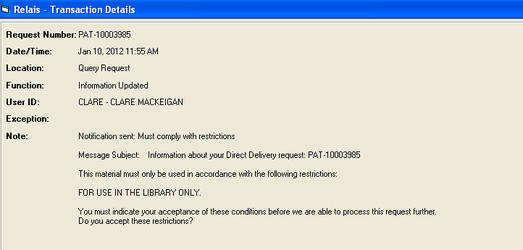
- The audit record is automatically updated to show that the Patron Notification message was sent.
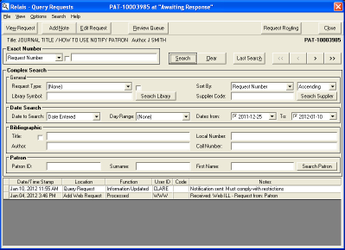
- The details of the audit note will display the complete text of the message sent to the patron. To see the details of the note, double-click on the audit record.
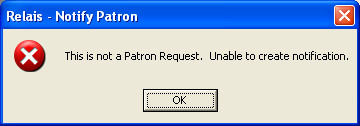
Note: Notify Patron can only be used with requests from a patron, meaning, requests that have a patron id. If you attempt to use Notify Patron with a request from another library the following error message is displayed.